A Step-by-step Guide How to Create Kaspersky Rescue Disk
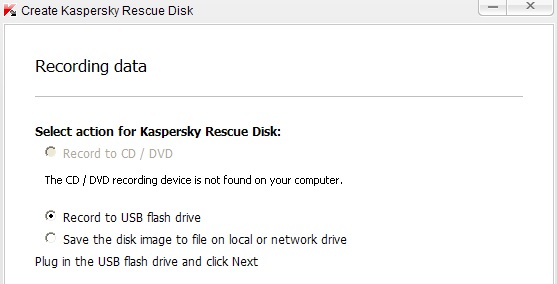
Creating kaspersky rescue disk is a useful feature in case your system is damaged by a virus and booting is not possible. To create Kaspersky bootable disc go to Tools -> Create Kaspersky Rescue Disk. If you have downloaded previously an ISO image of the bootable disc you may specify location to it and the program will burn an image. In case you do not have one you can download it directly from Kaspersky lab.
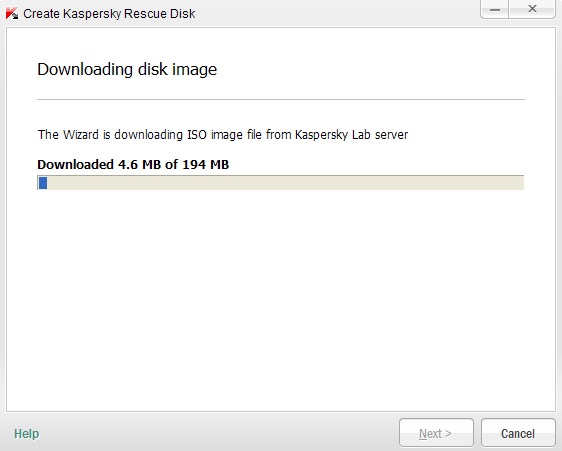
After downloading the image the wizard will update the antivirus database and configuration file of it.
I was little surprised that Kaspersky has not found my CD/DVD burning drive so I selected to save the image to the file on the local drive. The created ISO image was about 200 MB so I decided to burn the image to a blank CD disc using third-party software Nero Burning Rom.
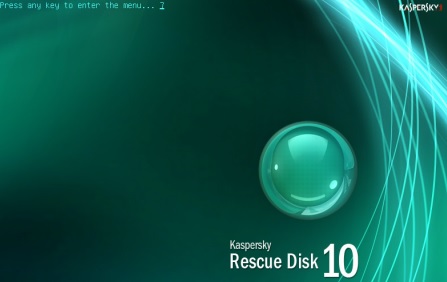
The burning went smoothly so I rebooted the computer and tried to boot from Kaspersky bootable disc.
Kaspersky bootable disc screenshot
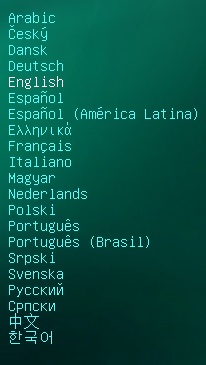
Press any key to the program GUI and choose the language.
You will see several modes on the next screen:
– Kaspersky Rescue Disc. Graphic mode
– Kaspersky Rescue Disc. Text more
– Hardware info
– Boot from hard disk
– Reboot
– Shut Down
I have chosen graphic mode and pressed enter. After that some Linux-based commands started to load on the screen.
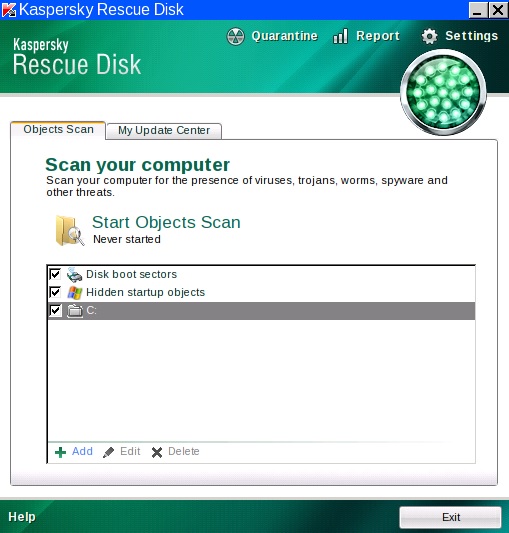
Then you will see user license agreement, just press “A” button and finally you will see Kaspersky graphical interface.
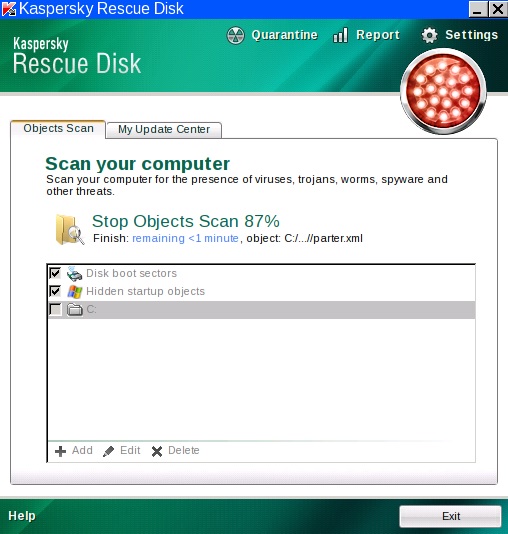
Make sure that “Disk boot sectors”, “Hidden startup parameters” and local disk drive are checked and press “Start Object Scan” button.
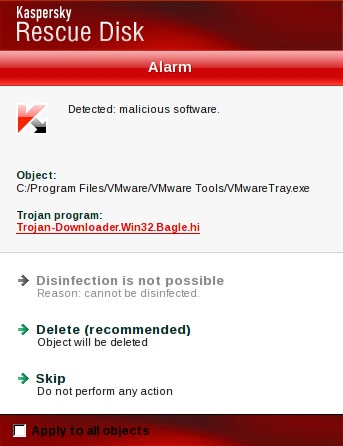
In case the program find a virus you will see a pop-up message, something similar to this one below.
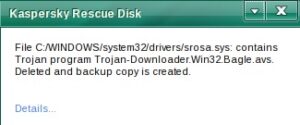
Finally before deleting threats Kaspersky will create a backup copy of it.
